Order Create Flow
Create Order Flow
This section will guide you through the process of creating an order.
Step 1: Start Create New Order
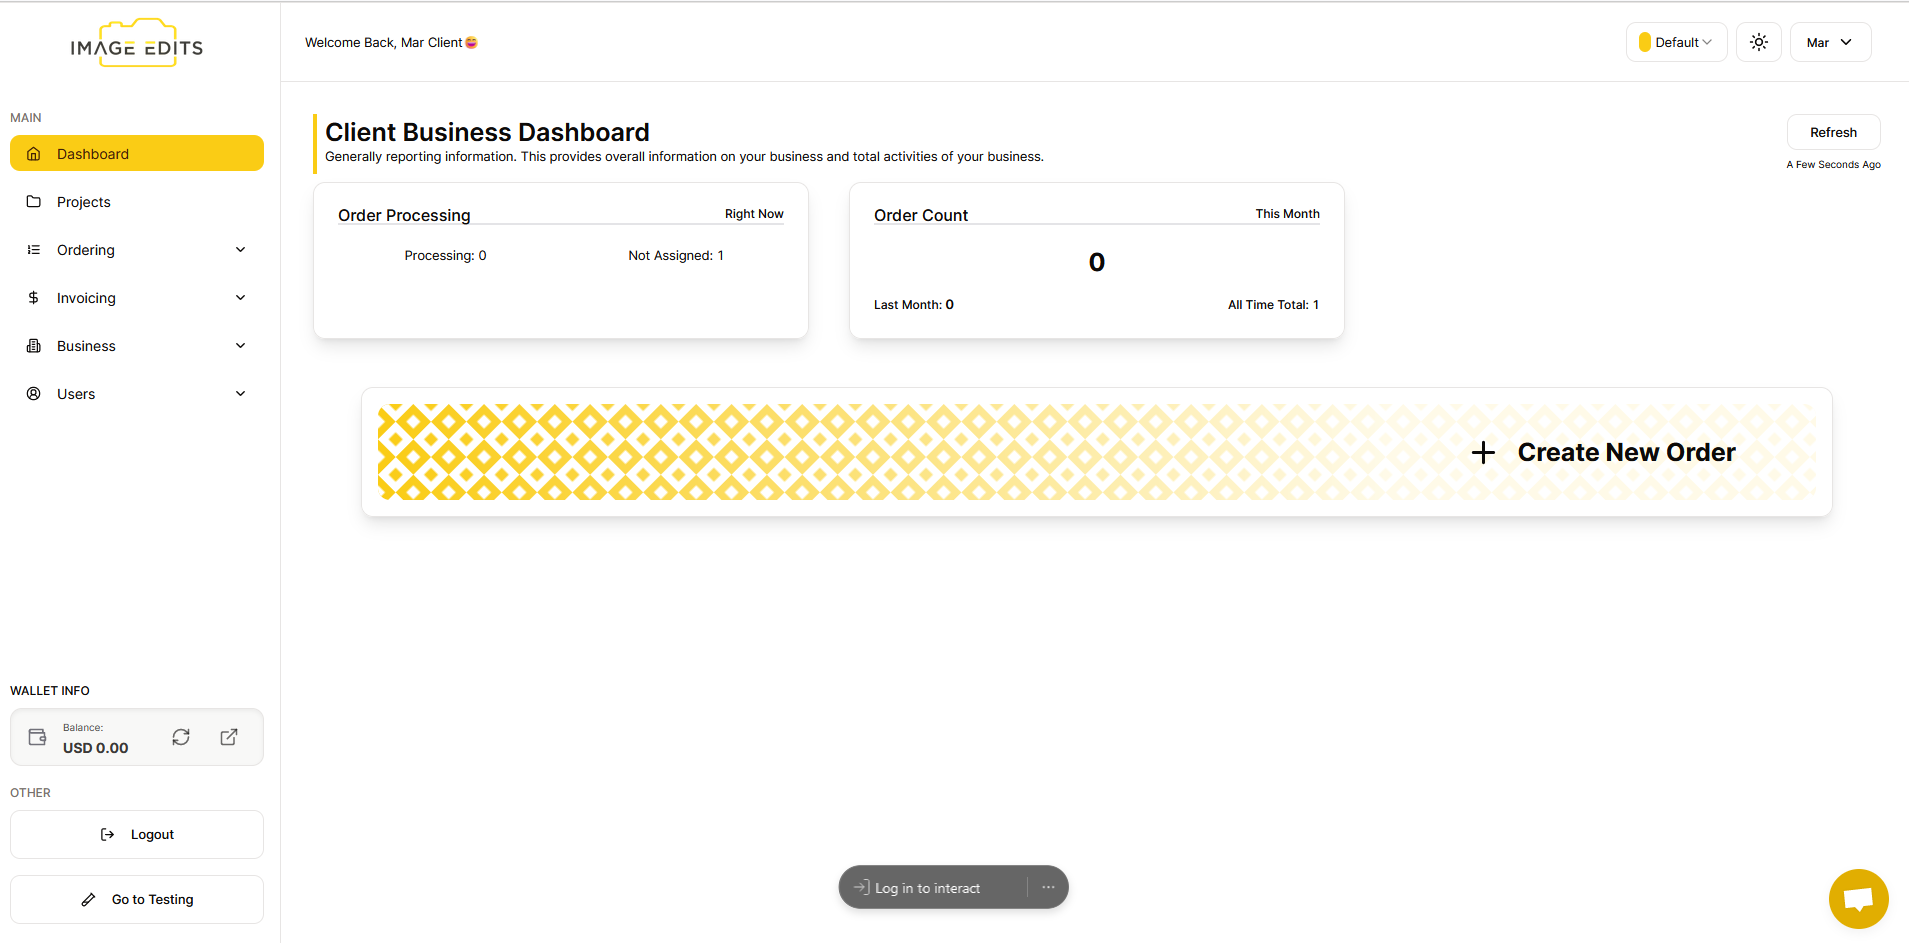
To begin, click the "+ Create New Order" button located on the right side of the dashboard section
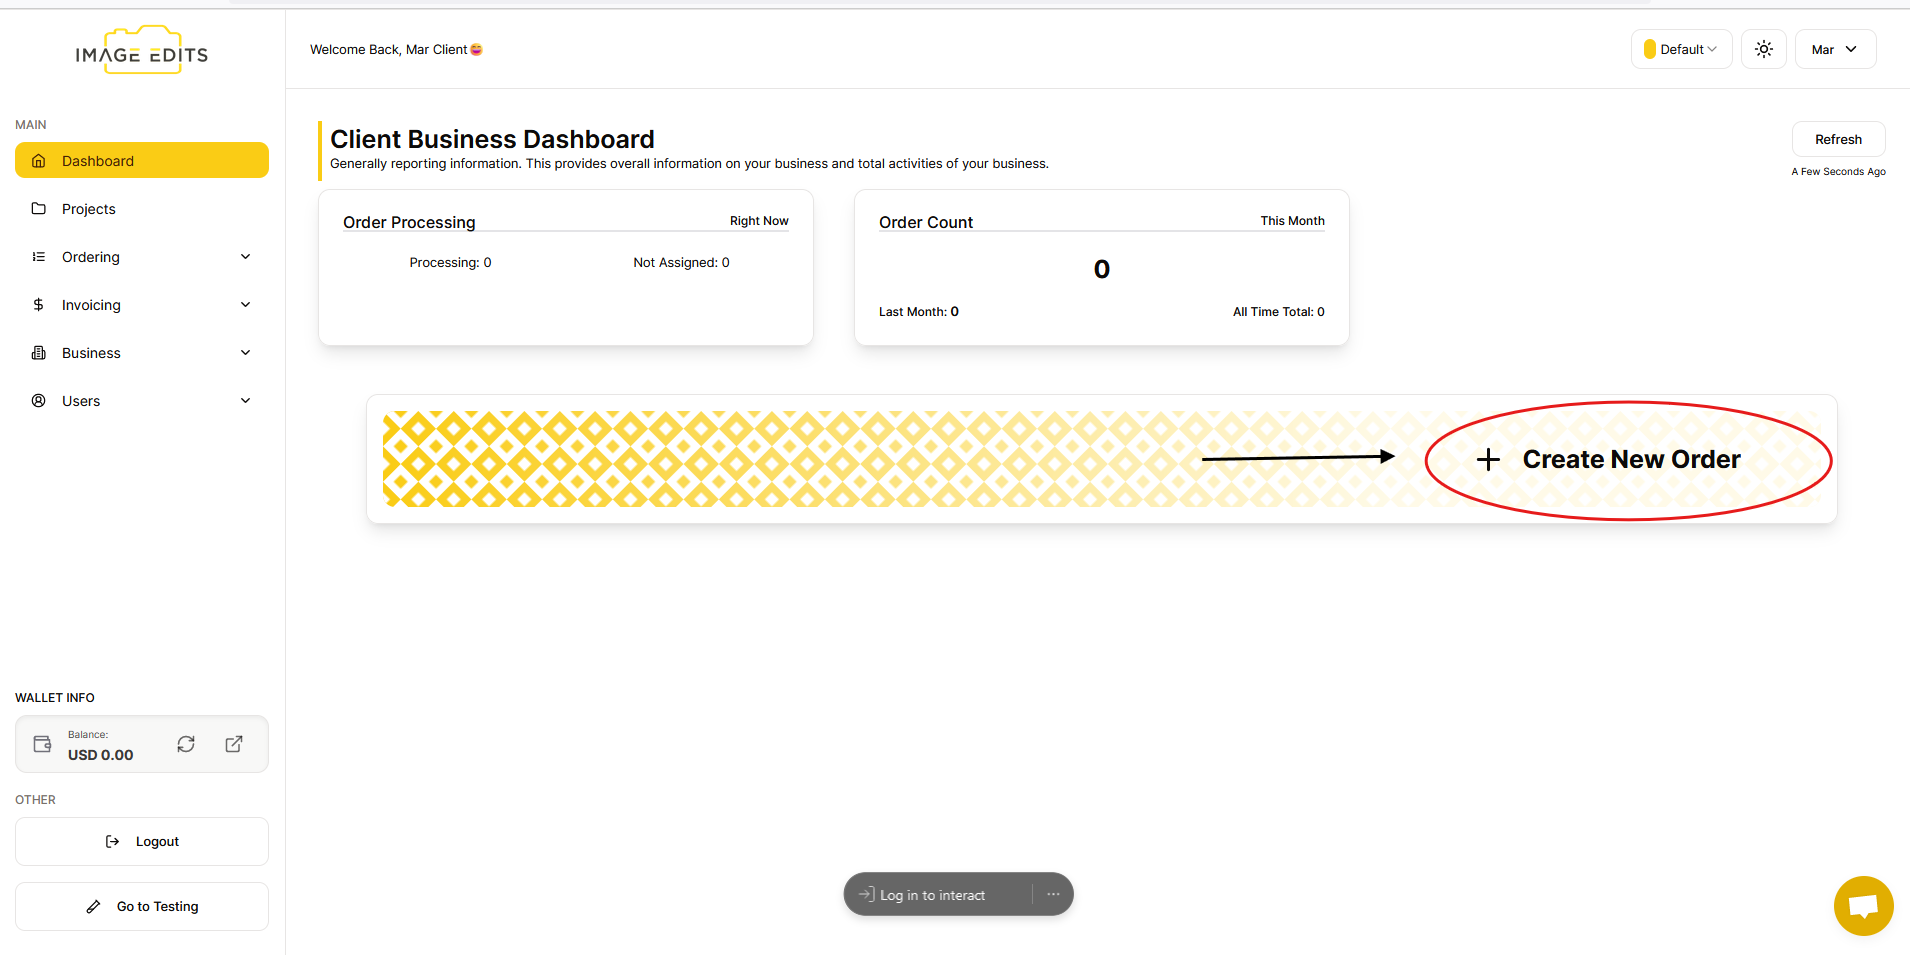
After you click "create new order" button, you will go straight to the Order Create section.
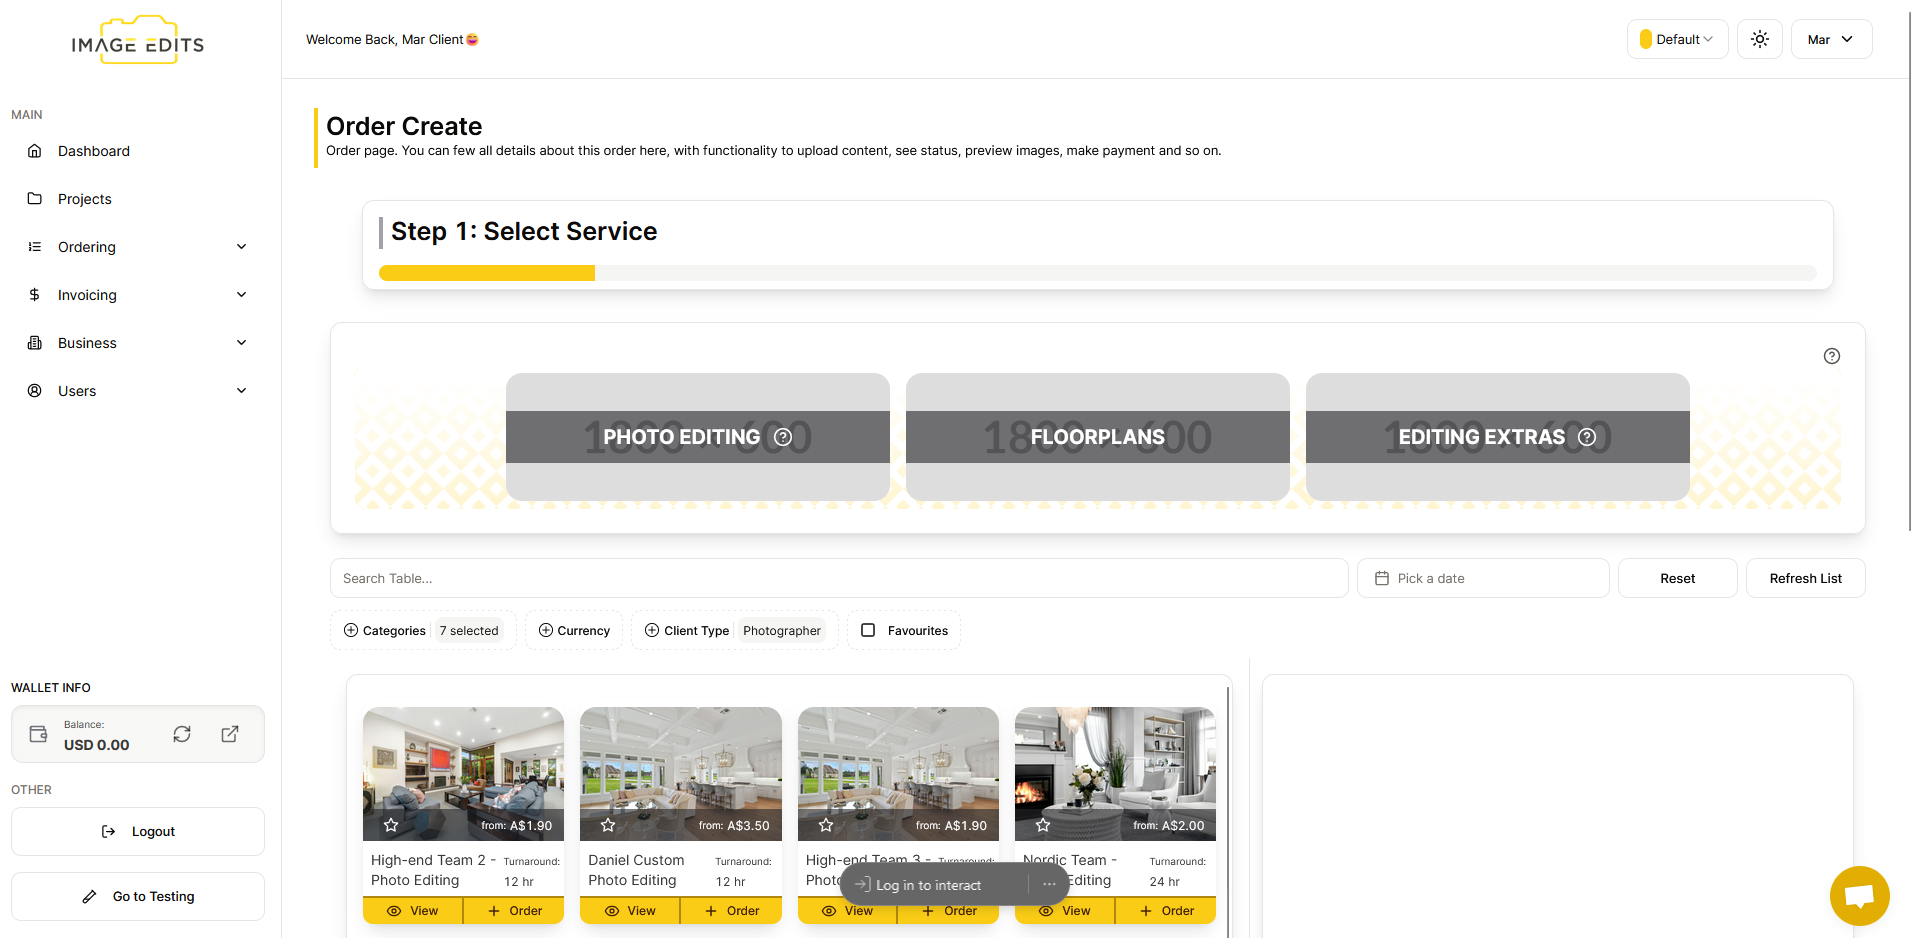
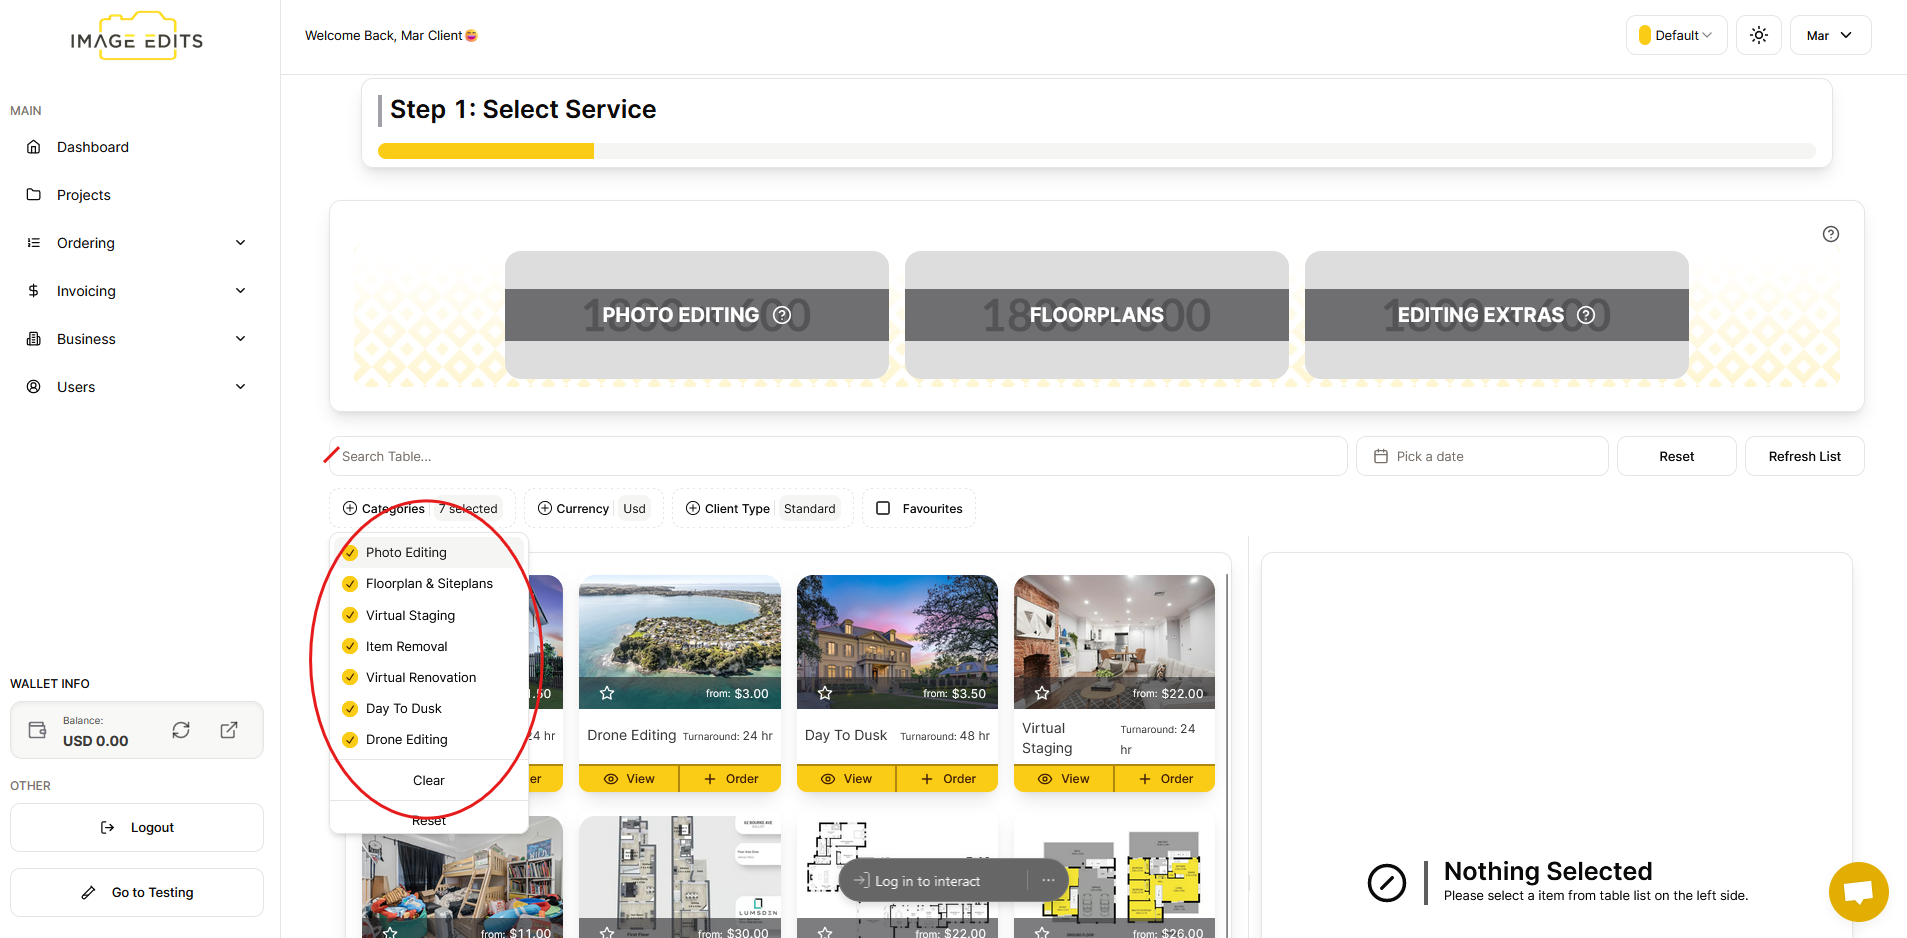
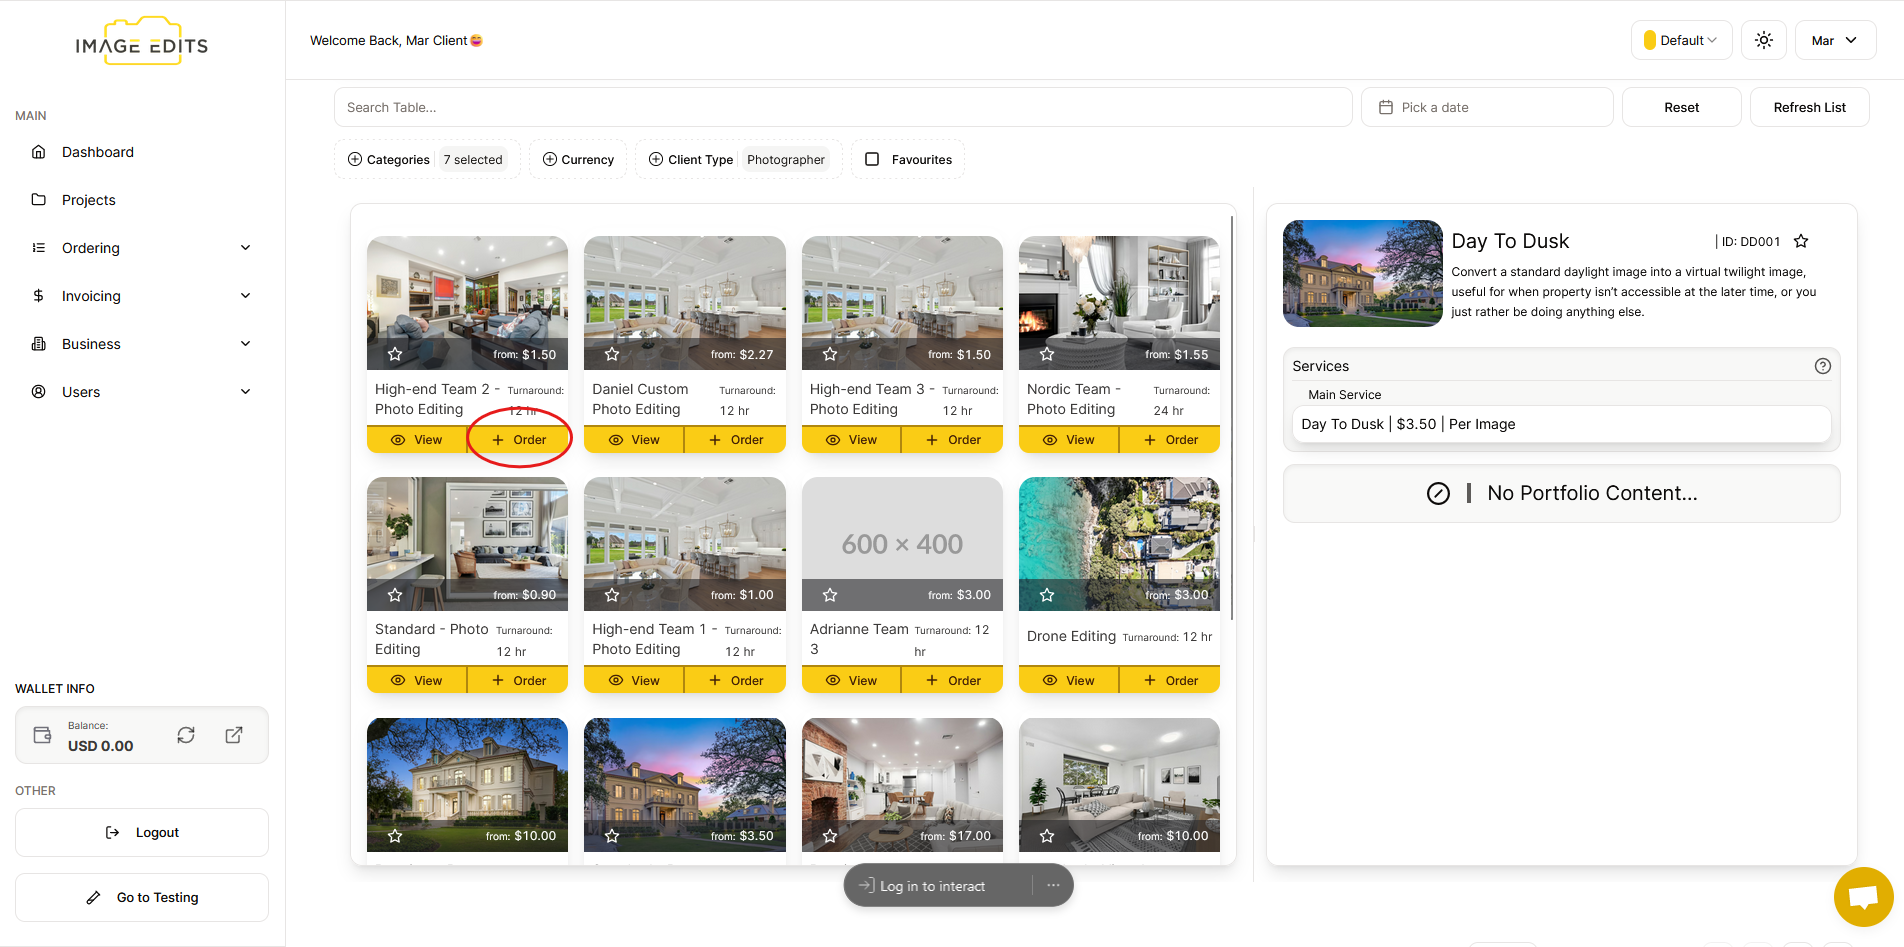
Step 2: Selecting Category
To create order, you can select or search any category you want. These categories are -- Photo Editing, Floorplan and Siteplans, Virtual Staging, Item Removal, Virtual Renovation, Day to Dusk, Drone Editing.
You can also view the order for the brief description of the order.
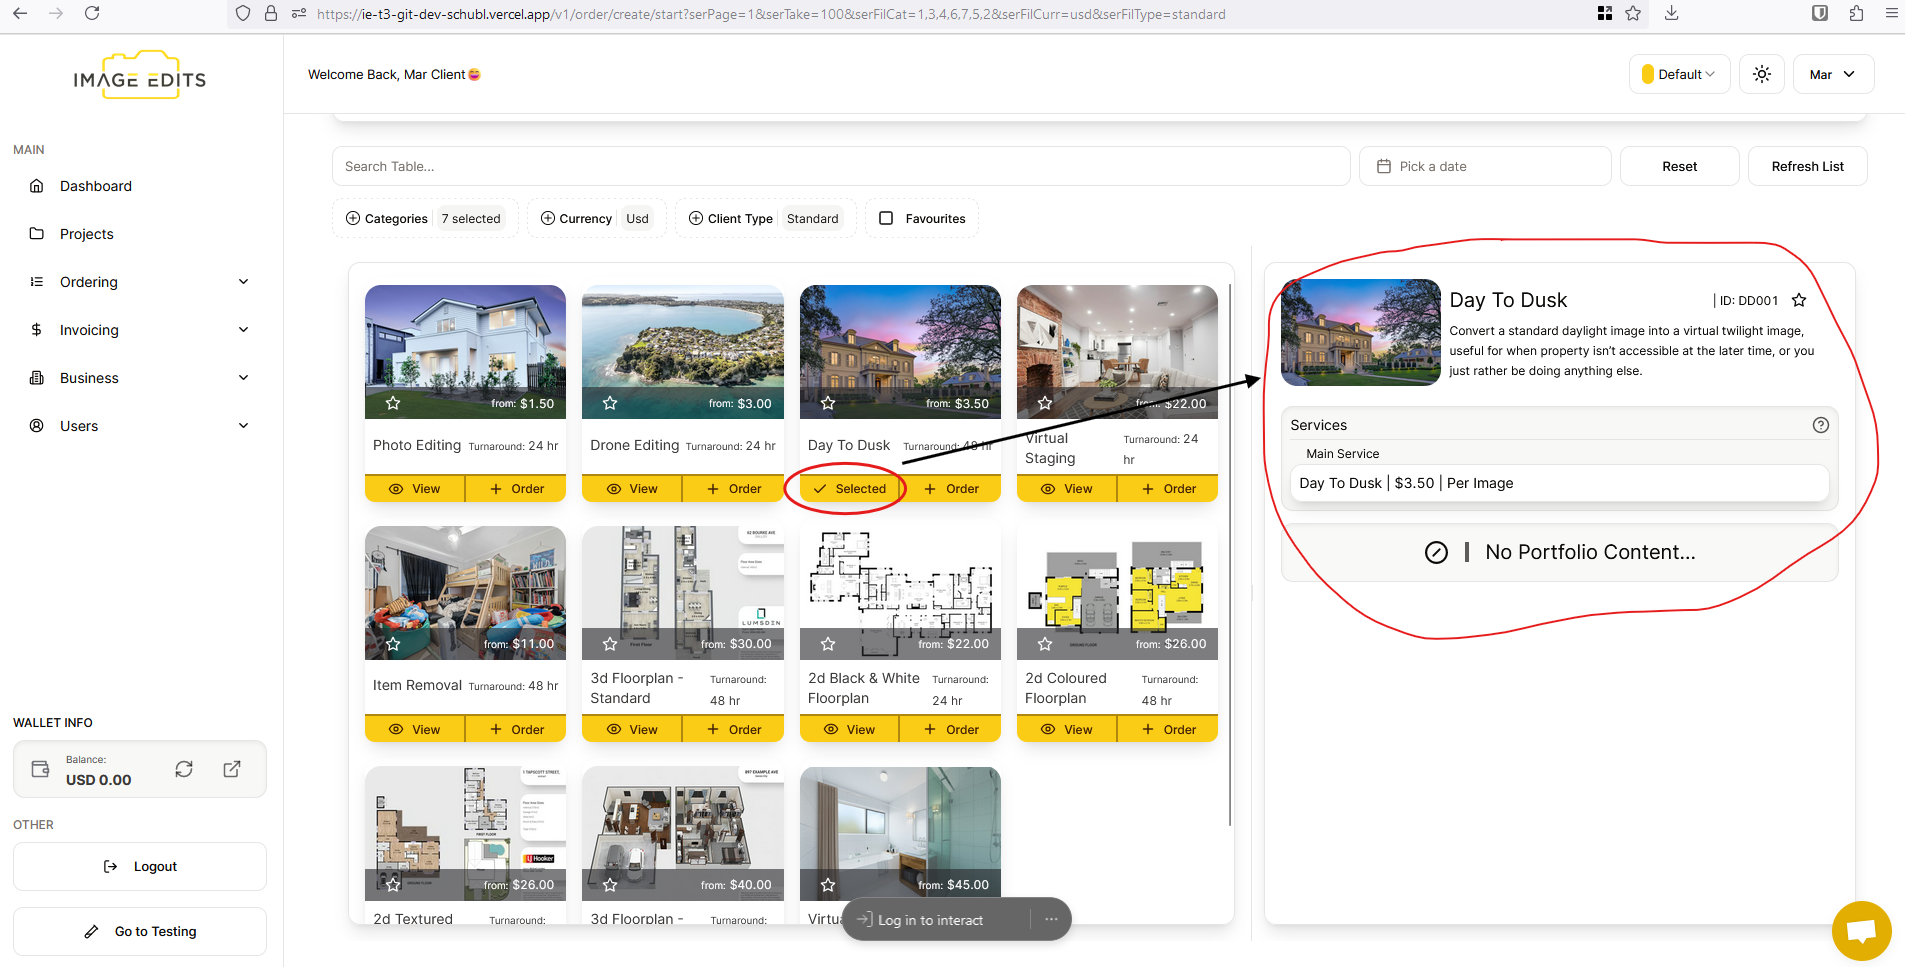
Let's assume that you order the first one which is the high-end team 2- photo editing. To order, just click the “+Order” button.
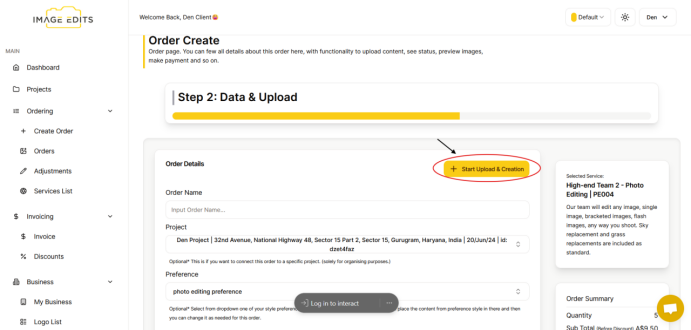
Step 3: Input Order Details
- Order Name - Input any order name you want. For example, "MarOrder"
- Project - Select any project you want.
- Optional, no need to select a project if you dont want to.
- More information on projects can be found here
- Notes - You can leave any sort of notes for the team to follow the best they can. This is optional, but highly recommended.
- You can also select a preference if you have any, and it will apply that prefence content to the notes, and you can then adjust from there.
- Quantity - Input the quantity for each service you want to order. This is required and will calculate the order total for you.
- Any incorrect quantitty inputs will either result in not all content being done, or invoiced after the order is finished. Or if its a major difference we will contact you to discuss.
- On quantity change, you'll see the total amount on left adjust. (if you have any discounts you'll also see them there.)
-

- Clients on monthly invoicing, quantity isnt required to be inputted here.
Uploading Content
We currently support two ways to upload content, uploader and cloud link.
Uploader is just like any other uploader, you can drag and drop the images that you want to upload. We accept majority of image formats, and will not compress any images. Everything will remain full size. You can also login into dropbox via the uploader, to select content directly from your dropbox to upload from dropbox to our system.
The second option is the "Cloud Link" option, we call these cloud links, they are referring to 3rd party cloud storage solution, like dropbox, google drive, one drive, box, we transfer and so on. Just input your cloud link into the input field, this should be the publically shareable link for your content. Make sure its public and no account is needed to download the content.
Start Order Creation | Uploading
Once done, you can now click start upload and creation.
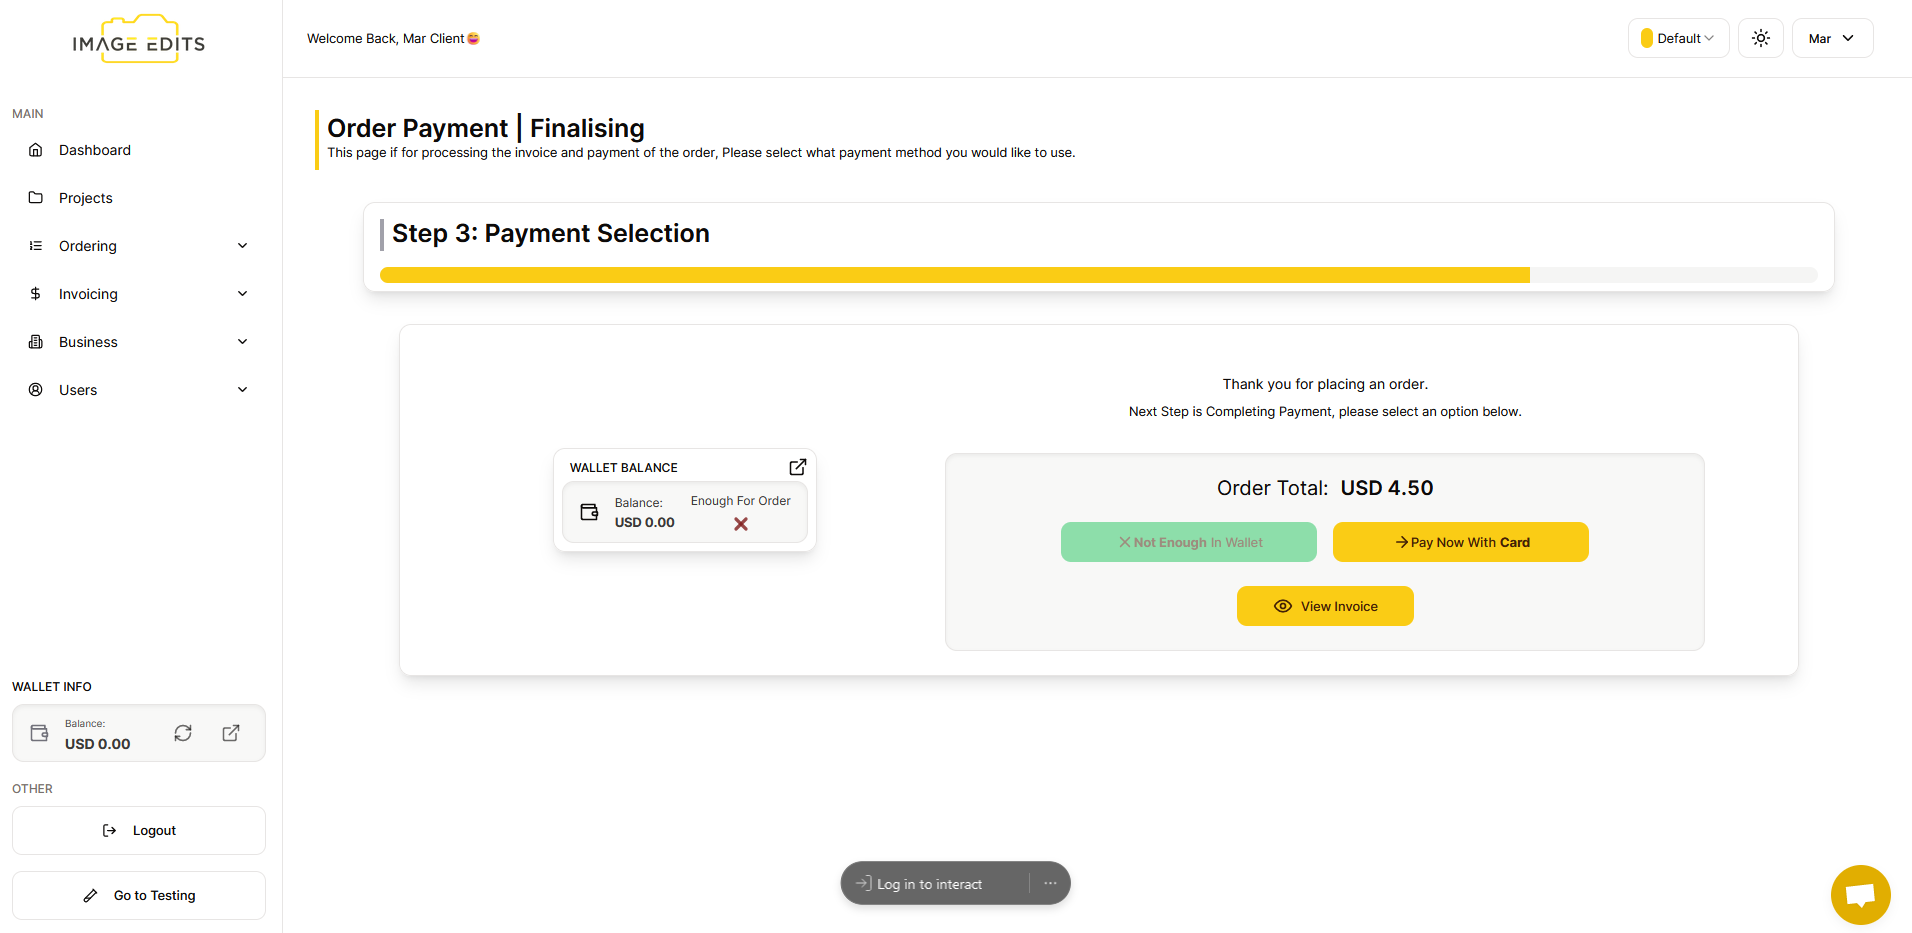
Step 4: Order Payment Selection
The order will proceed directly to payment for finalization. You also have the option to pay either through your wallet or with a card. You can also view here the invoice of your order. You can view more on this under the payment document sections.
After the you have made payment, either via Card or Wallet, you'll be redirect to "Invoice Payment Success" page.
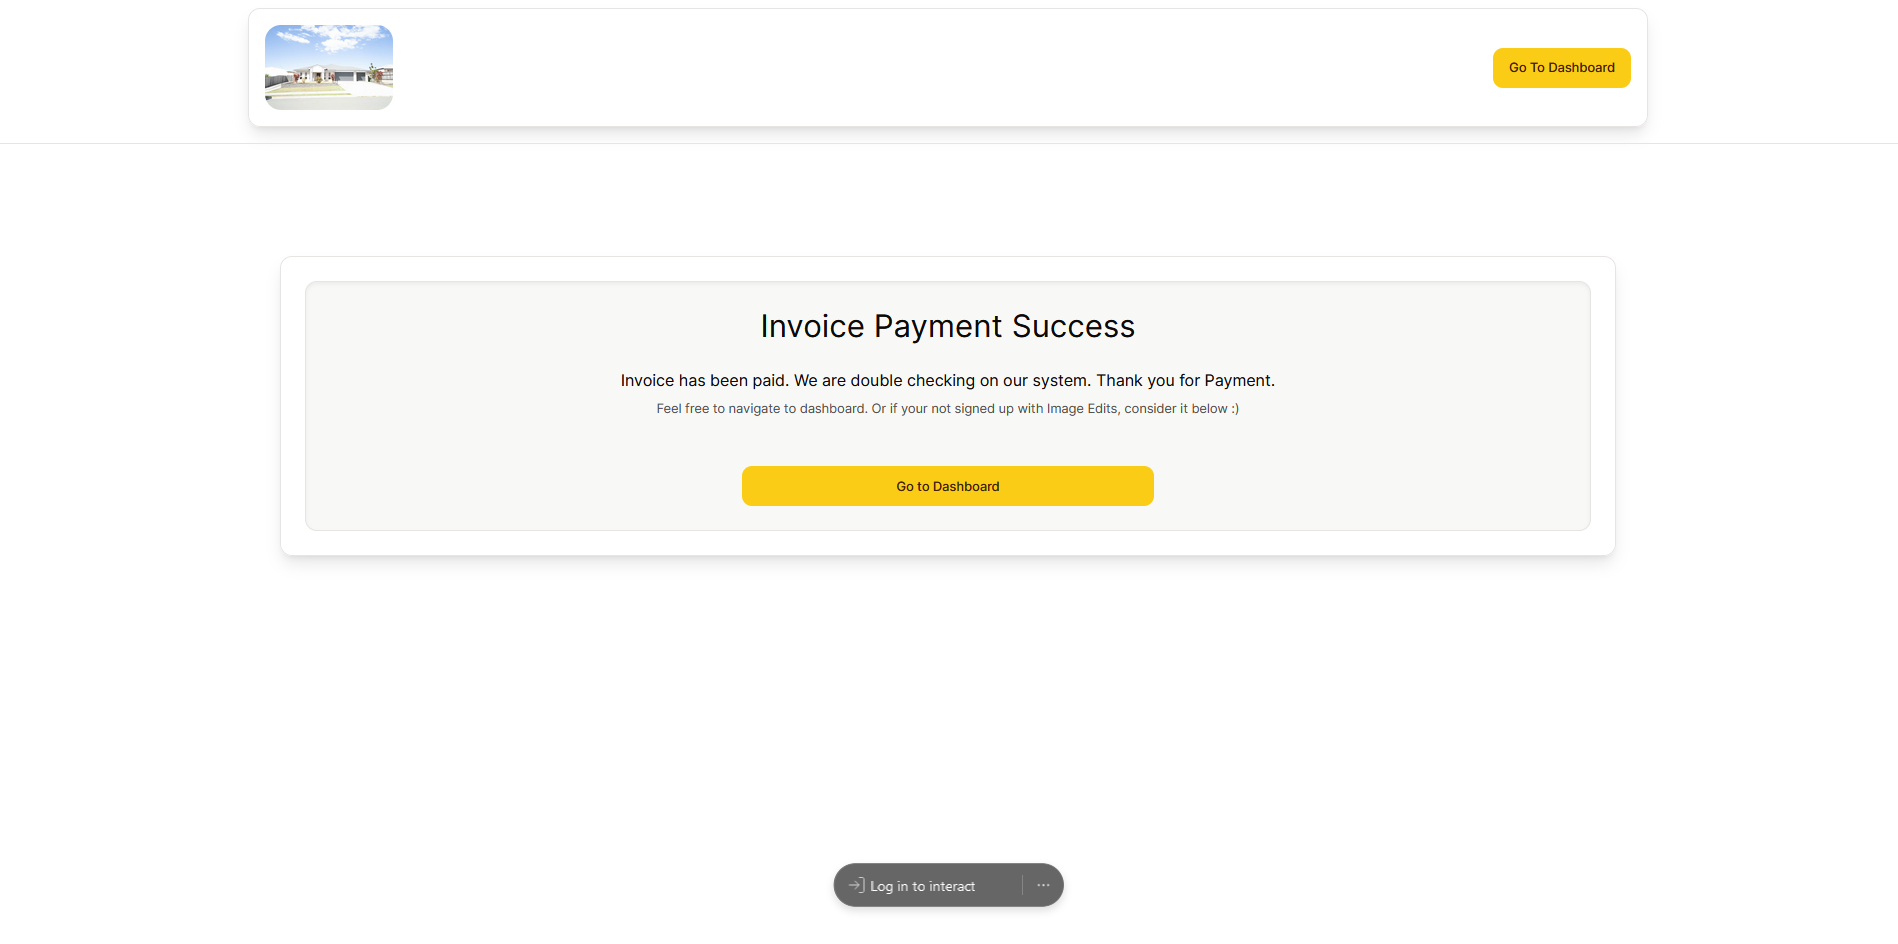
From the image above, click the "Go to dashboard" button to return to the website.
All Finished
You can view your new order under the "Order List Section".